Brenatto - 150g Combat Robot

This bot would not have happened if it were not for my wife agreeing to let the family build robots, and if not for all of the members of the combat robot community around the world who were willing to share their experience, wisdom, and insight.
Where did Brenatto come from? https://criticalrole.fandom.com/wiki/Nott
Components
Note: Links are apparently notorious for not working, Google is your friend :-)
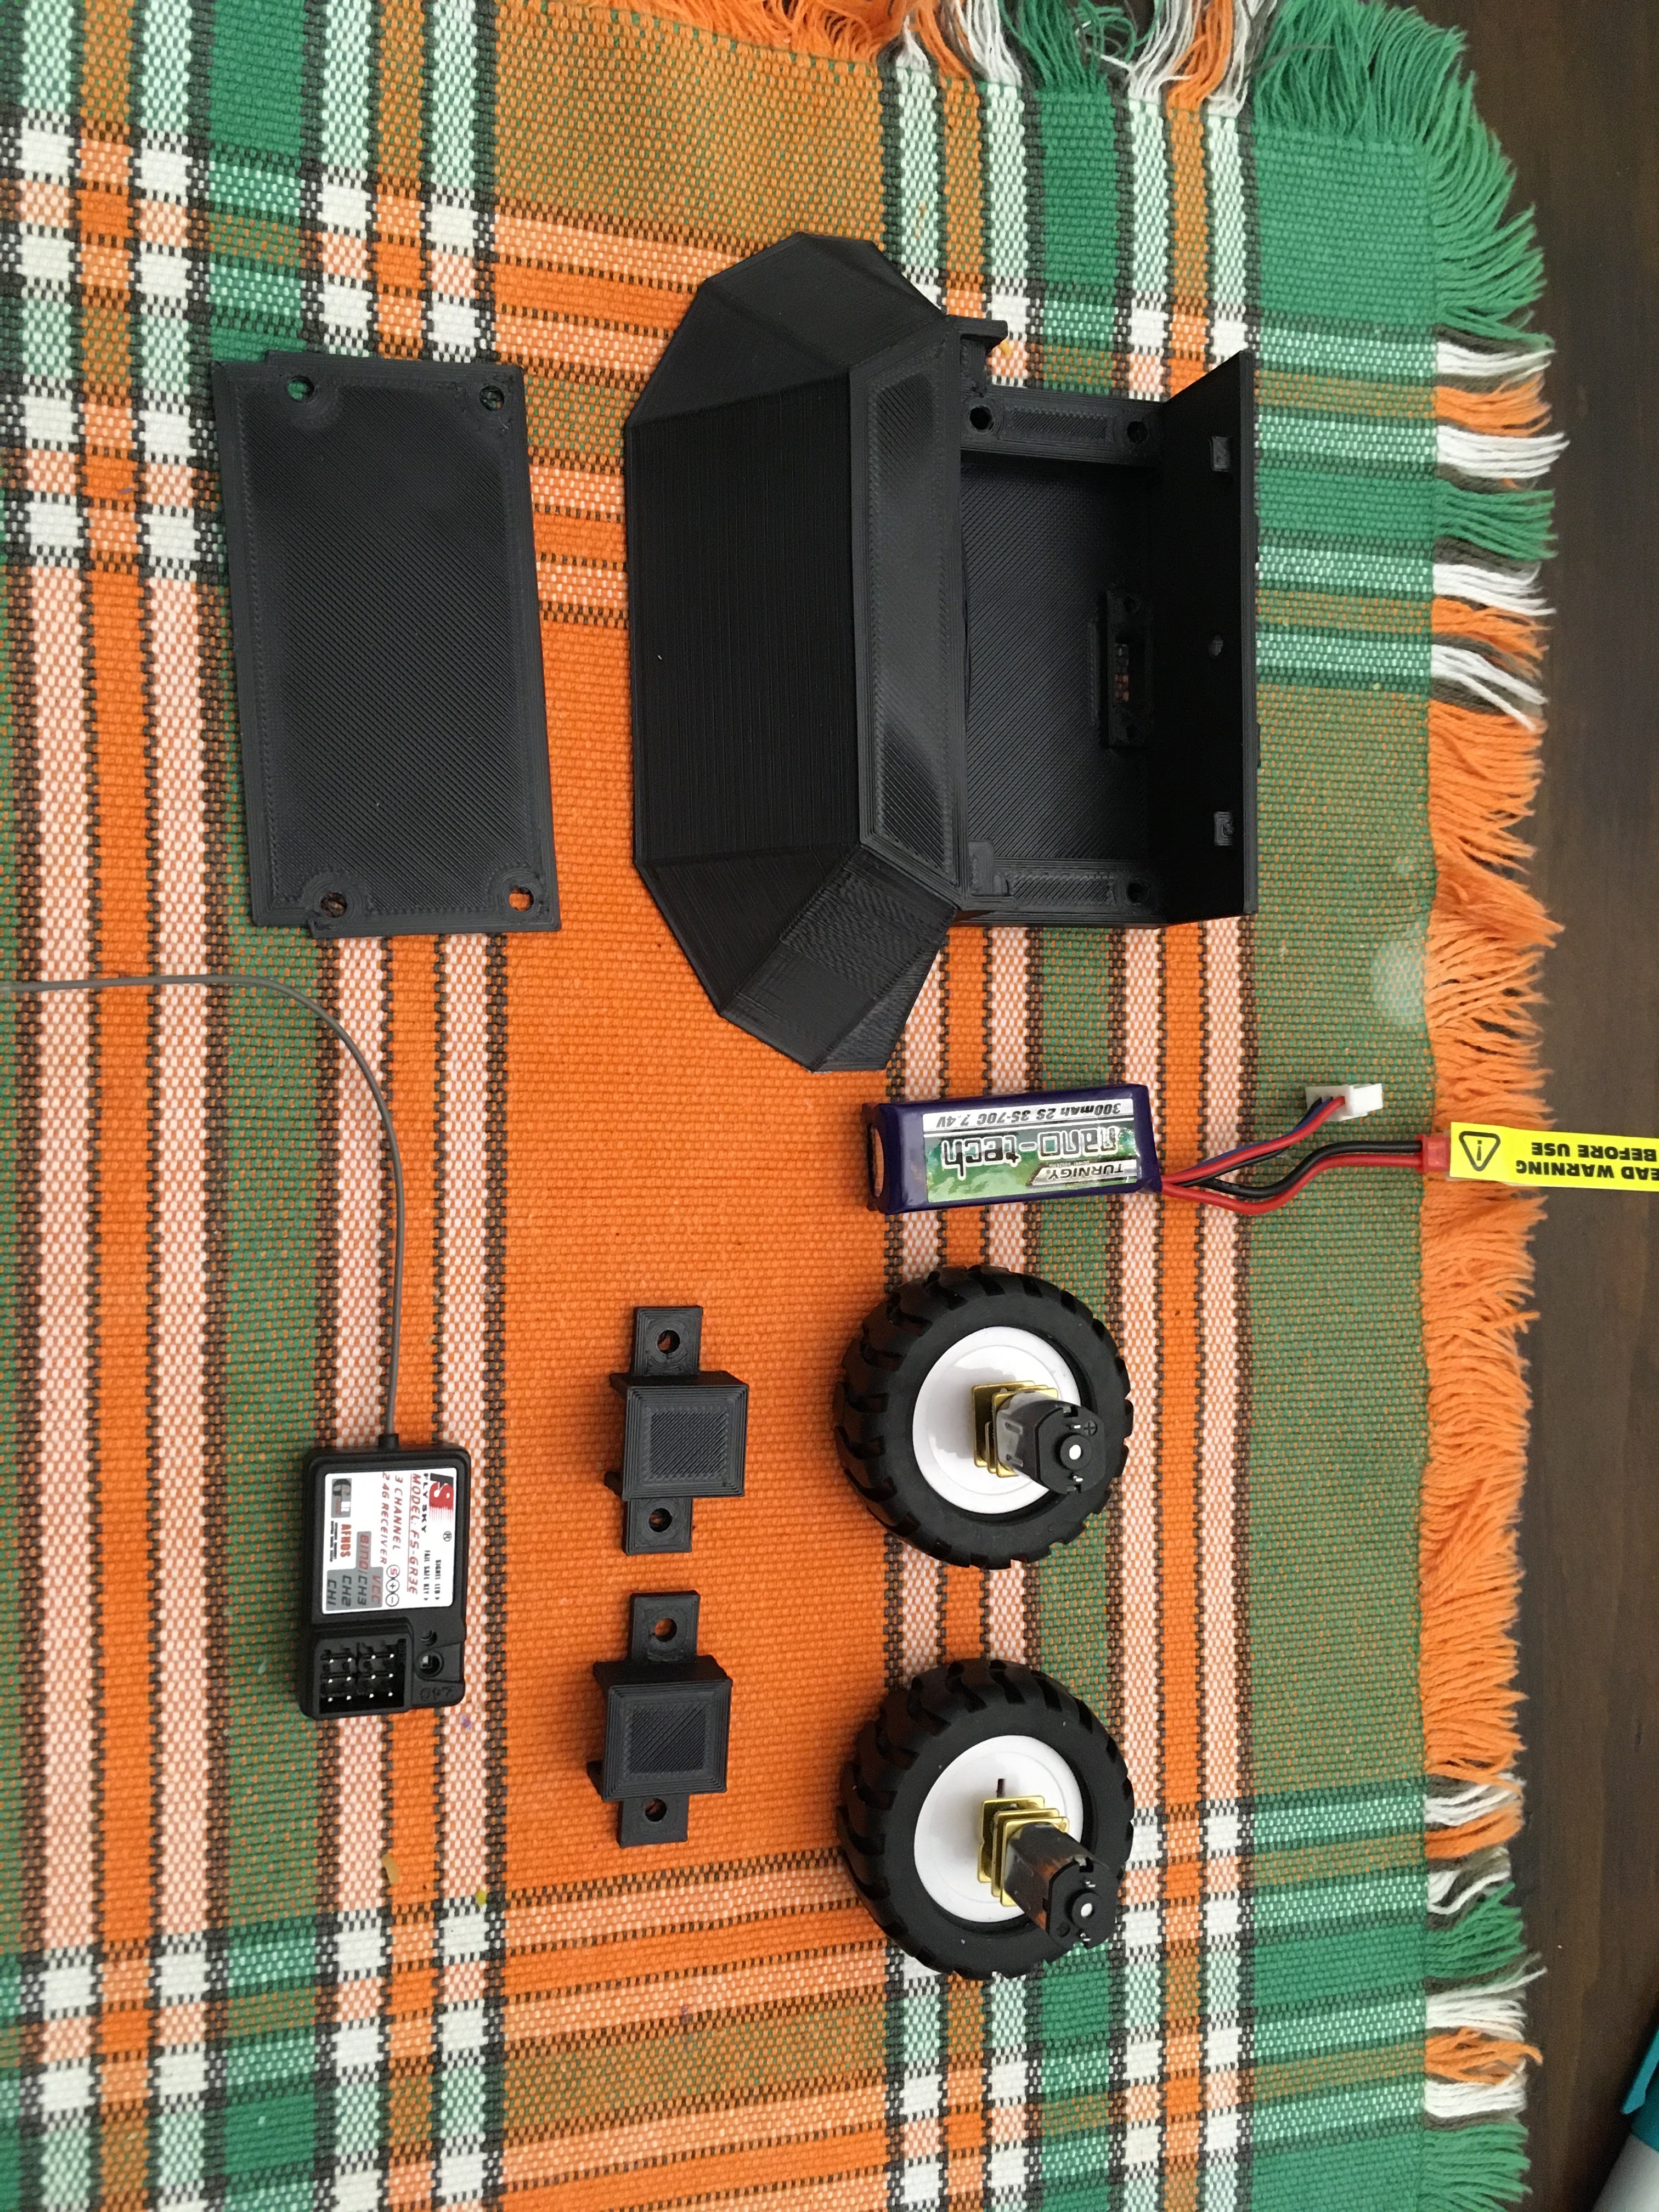
3D Print Files: Bot Chassis - https://www.thingiverse.com/thing:2022778
Hubs, Wheels, and Molds - I originally used these: https://www.thingiverse.com/thing:3275522
But this design is more workable: https://www.myminifactory.com/object/3d-print-comolded-silicone-wheels-for-150g-combat-robot-118223
In the end (during the rebuild) I went with Pololu Wheels 40 x 7 and they have been great.
Motors: Warning the original one's I purchased are here (and they are very slow, but I didn't know it at the time). Wingoneer 6V N20 Motors and Wheels
On the rebuild I went with these motors: Endbots N20 Microgear 30:1
Receiver: Flysky FS-GR3E
Transmitter: Flysky FS-GT2B
The Build
So this bot was an interesting challenge as it was the first bot I have ever built (if you don't include ripping RC parts out of a car and putting them into HDPE box with wheels, but we're not going there, rest in peace Frankenbot). Additionally, I had ordered enough parts to build two bots in tandem (that morphed into another build).
The most important thing about this build was not so much about completing the build as much as it was about my overcoming my abject fear of hot things (I am talking to you soldering iron). There was just no way to get this thing put together with out it. And, I certainly used way too much heavy wire.
The 3d print was the first thing to be ready. I had just opened up a new pack of ABS and tried several different models (spinners, I was trying to make a spinner, I even ordered parts and they still are not here), before I got things dialed in enough to make this print work acceptably. As you can see the wheels, battery, and receiver all arrived fairly quickly. Nothing to solder here, nothing to solder here. By this time I had already blown up a receiver because apparently it wasn't a good idea to try to connect the battery directly to the receiver. Lesson learned the hard way.

Since I knew I could blow something up, I started asking questions about the build from the Antweight Combat Robot community. To say they were helpful would be an understatement. They told me how to be able to get power to the receiver without blowing it up. Apparently it involved only sending power from one of the ESC's into the receiver and disabling the other power connector (who knew, well apparently they did because it worked). I was also still trying to not be destructive to my parts so I cut very few wires on this build (something I remedied later in the rebuild, ironically enough as my confidence built). I used the picture above to ask the community if I was missing anything. And that was only half of what I should have asked. More later.

Challenge successful. I finally soldered something. Specifically, those really thick wires connected to the motors and then I jammed the other end into the power cable of the ESC, amazingly it worked out. The above photo shows all of the wiring connected to make the wheels work. Now to try out the new transmitter (I originally ordered pistol grips because of the kids). However the transmitter didn't work. As it turns out, I needed to bind the transmitter and the receiver. Now, just for the record, all, and I mean all of this was new to me. Google and the community were my best friends during this build. After everything was synced up, I then realized that the bot was going to need some incredible driving to work. Why you may ask? Because the trigger controlled one wheel, and the steering wheel controlled the other. Back to the Facebook group. They introduced me to something call a mixer and provided a couple of different options.

I went with the Turnigy small V-Tail mixer. After jiggling the wires a bit I finally got everything going in the right direction. And that was that. We had a slow moving, highly latent responding first build. But I did it. I built a bot that moved and didn't blow up.
Aftermath
So after a couple of weeks of extreme slowness, I finally decided to do something about it. I made a pretty sizable purchase from several different places to get the parts I needed to upgrade this bot and put together a few others. Not one of the items from that order have arrived as of the writing of this post and that was now over a month and a half ago.
When one avenue doesn't work try another, and low and behold I was able to order subsequent parts and get them here fairly quickly.
Here are the upgrades to Brenatto
N20 motors - I went with Endbots 30:1 motors and couldn't be happier. The bot has a nice amount of zip for its size.
Wheels - I just couldn't make the original wheels work and believe me I wanted to. So I changed them out for Pololu 40 x 7 wheels and that has made a world of difference.
Cut the excess wires and power switch. In the original, I was stuffing way too much, in the way of wires, into the bot. Good thing she had a lot of space. Now the internals are a bit more cleaned up.
Brenatto is as done as she is gonna be and will always hold a place in my heart as my first bot. She may see some upgrades, and may even be retired in lieu of a future design (I have plans), but I can't see me taking her apart to build another bot. I will not have that hang up on future builds, but the current build of Brenatto will remain as she is.

Comments
Post a Comment